Setting up Memory Banks for the FT-70
This guide provides step-by-step instructions on how to copy and paste bank settings in a simple and efficient manner. By following these 13 steps, users can easily arrange channels in different banks and copy settings to multiple channels, saving time and effort.
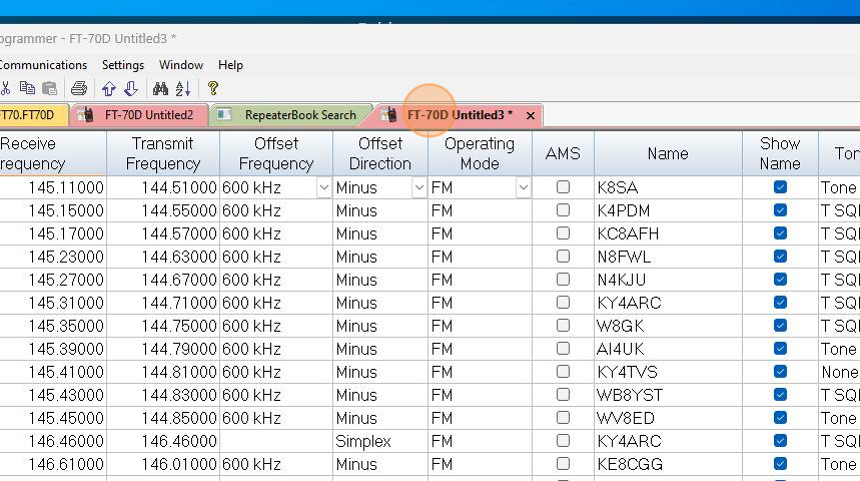
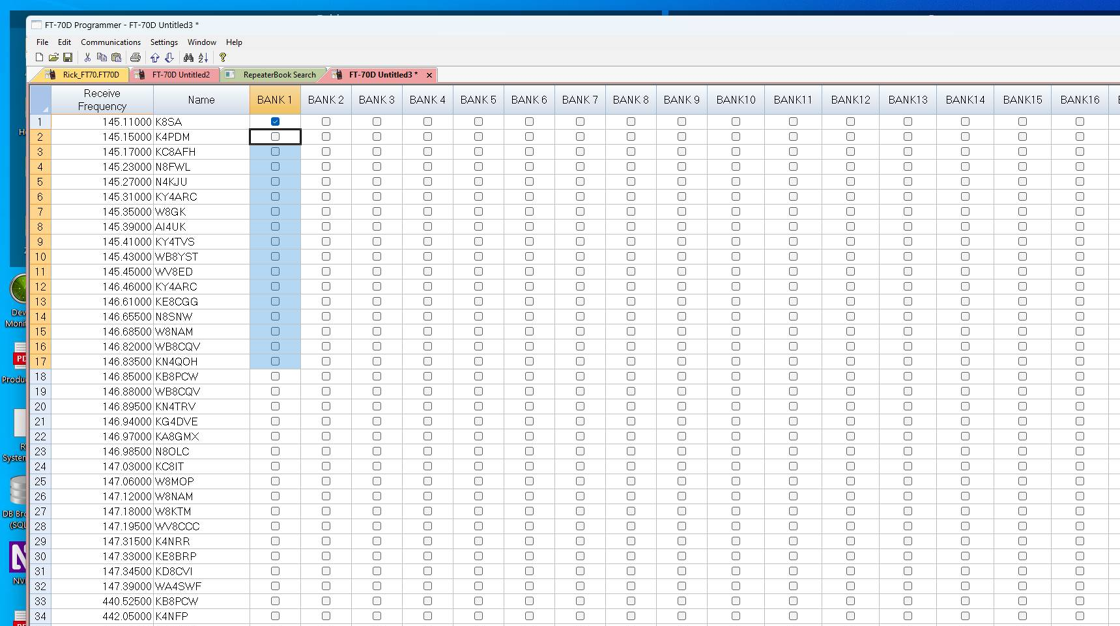
1. Select the file that you want to edit by clicking on the tab at the top of the screen.
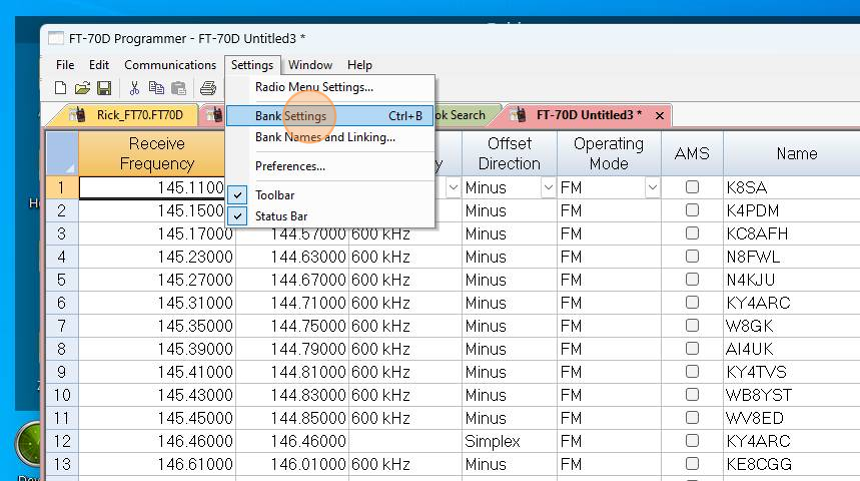
2. Since we want to put channels in banks, we will arrange the screen so that option is easier to use. From the menu at the top, click Settings then Bank Settings.
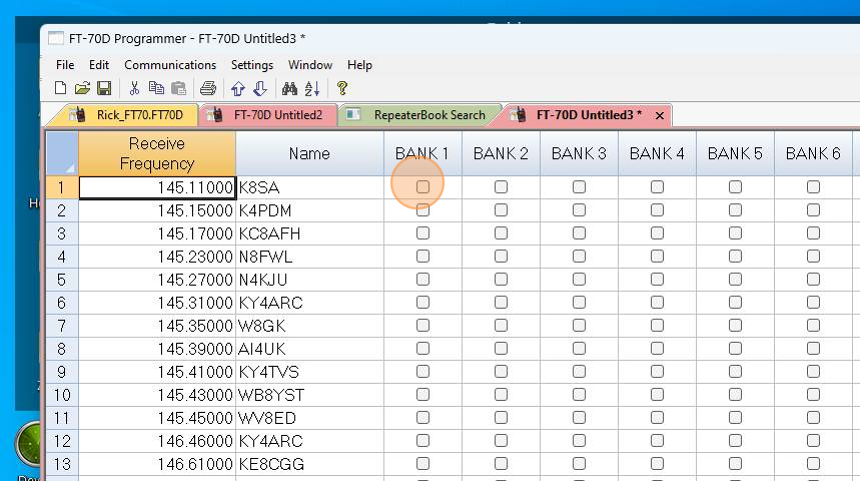
3. Starting with the first channel you want in Bank 1, check the box in the Bank 1 column.
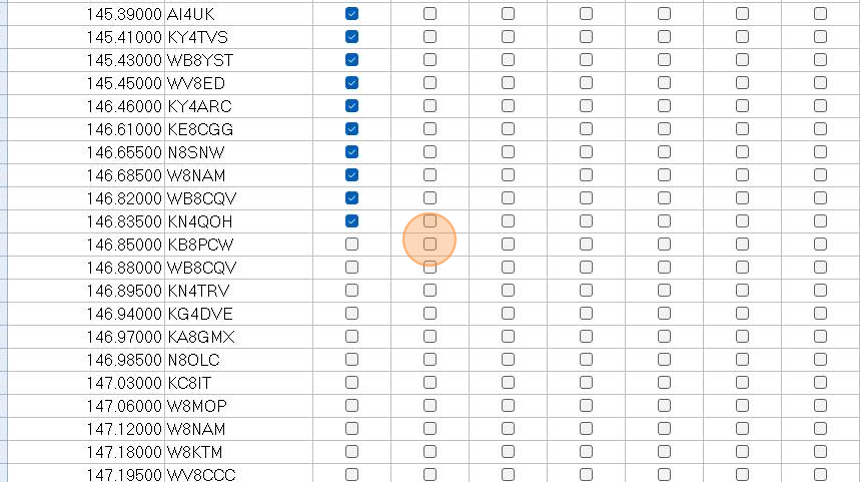
4. To make this even easier, you can copy that check mark to other channels that you want in Bank 1. Just press Ctrl C (Cmd C on Mac).
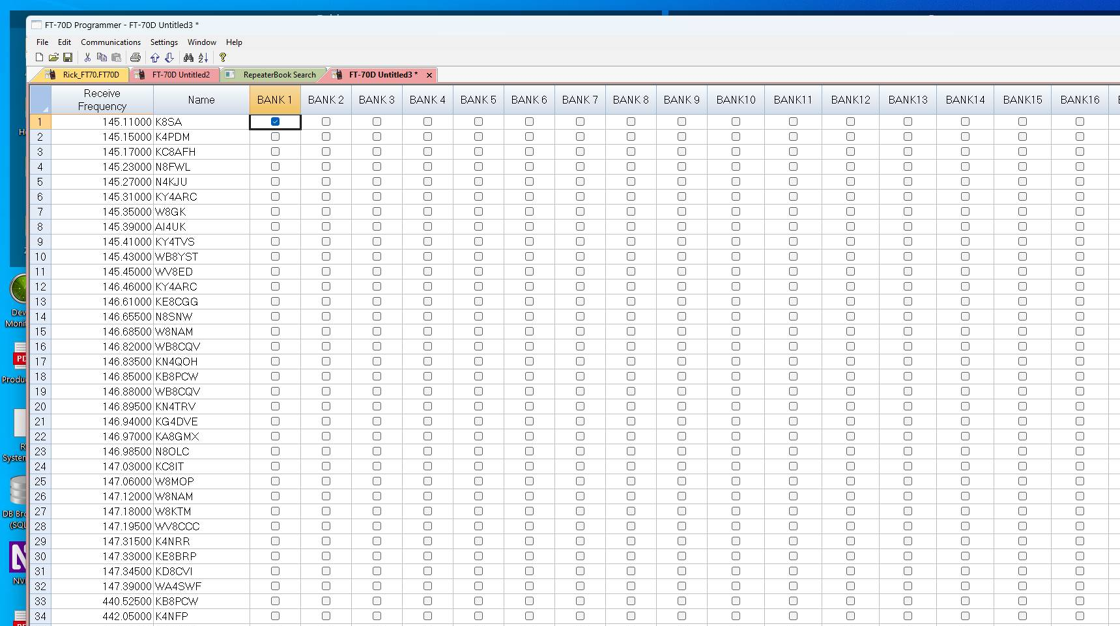
5. While holding the Shift key, press down arrow to select a group of channels that are all together. Then press Ctrl V to paste that check mark into each of these. If you want a random group, either click them one at a time or down arrow and press Ctrl V when you find one in the list.
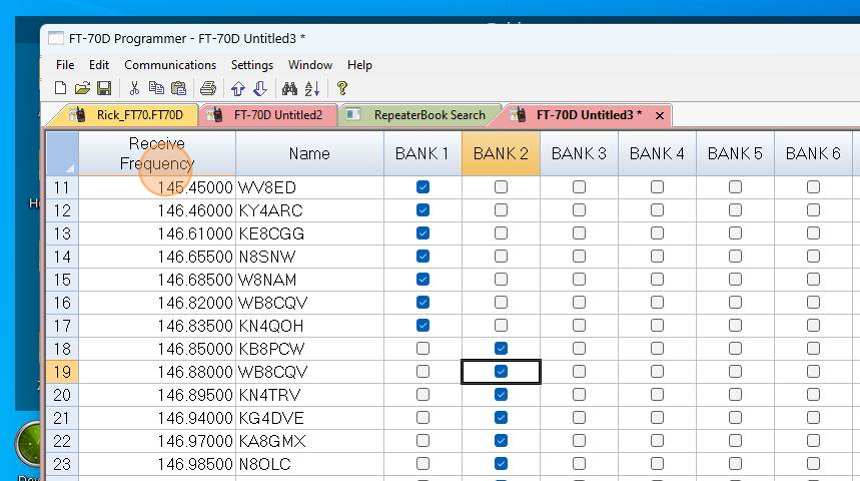
6. Repeat the process for Bank 2... then Bank 3
7. Now you have a selected group in Bank 1 and a different group in Bank 2.
Was this article helpful?
That’s Great!
Thank you for your feedback
Sorry! We couldn't be helpful
Thank you for your feedback
Feedback sent
We appreciate your effort and will try to fix the article