This guide provides step-by-step instructions on how to add and configure scan groups for DMR radio communication. By following these steps, you can create scan groups and customize their settings to enhance your radio communication experience.
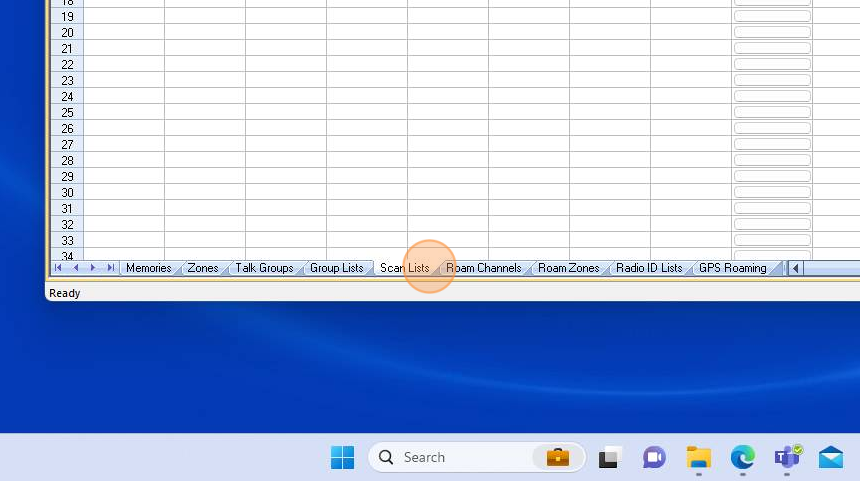
1. Open your RT Systems DMR software and select "Scan Lists" located at the bottom of the software window.
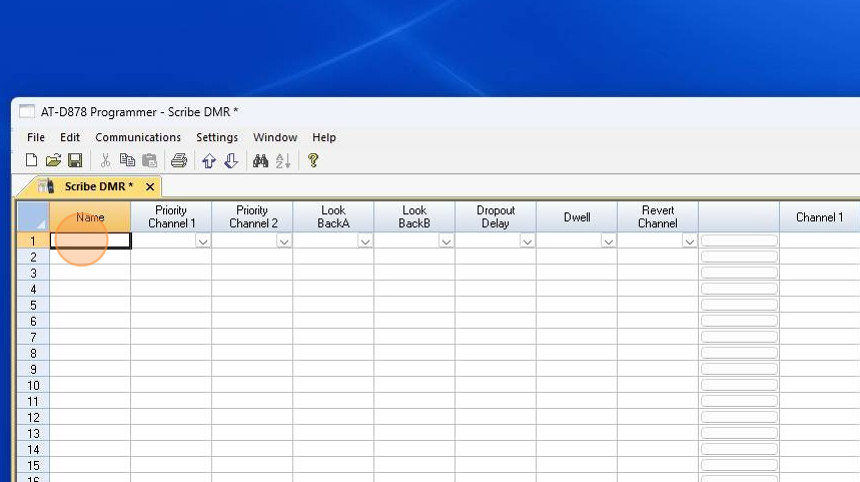
2. Click within the "Name" cell and type the name of your scan group. This is your choice. Press "Enter" to create the scan group.
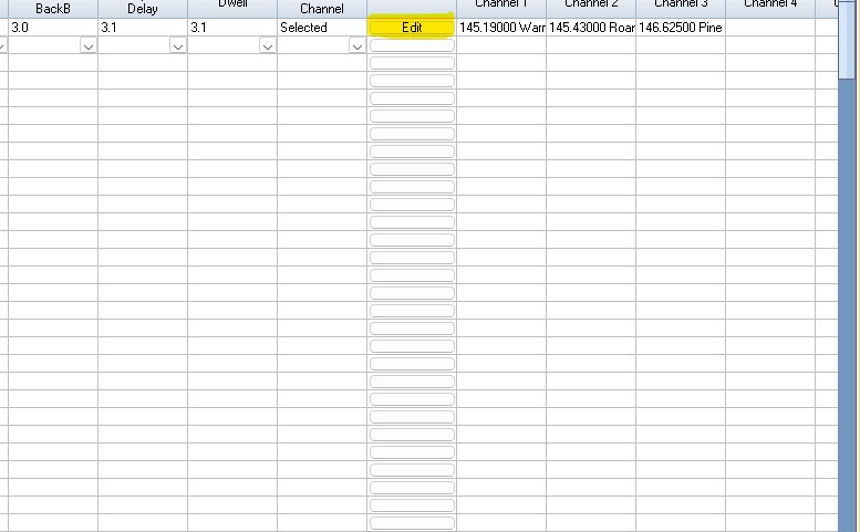
3. Once your scan group has been created, click "Edit" to add your memories you wish to scan to the group.
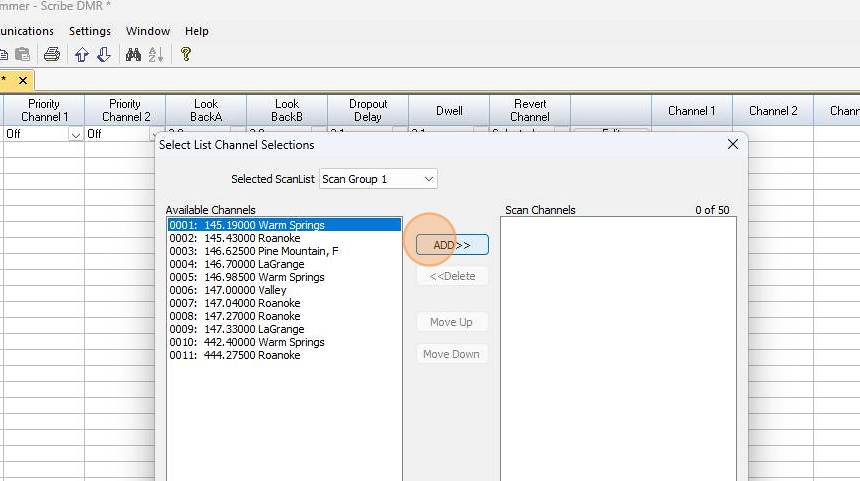
4. Click the memory you wish to add to your scan group. Make sure the memory is highlighted as shown. Once selected, click "Add".
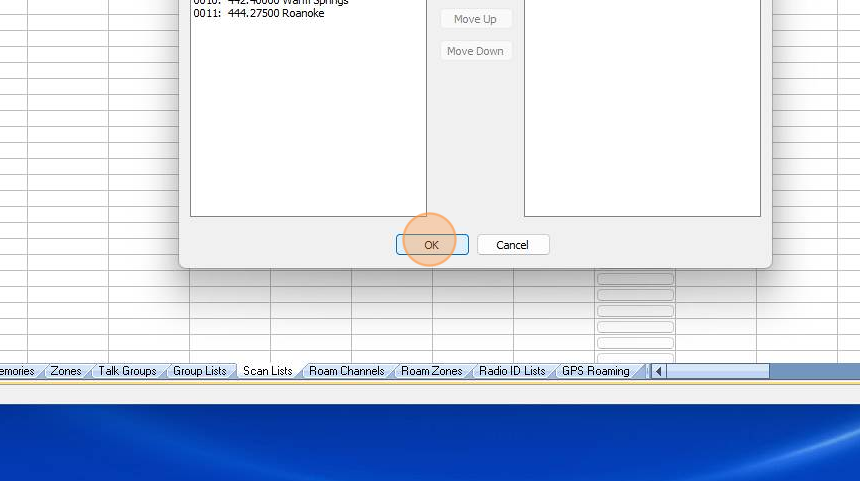
5. After all memories have been assigned to your scan group, click OK to save and close the scan group edit menu.
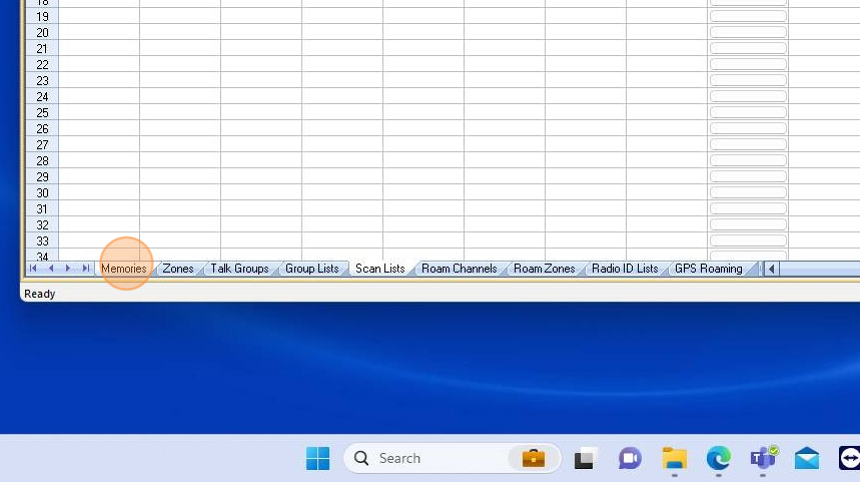
6. Click on Memories located at the bottom of your software window. The created scan groups need to be assigned to a memory in order to function.
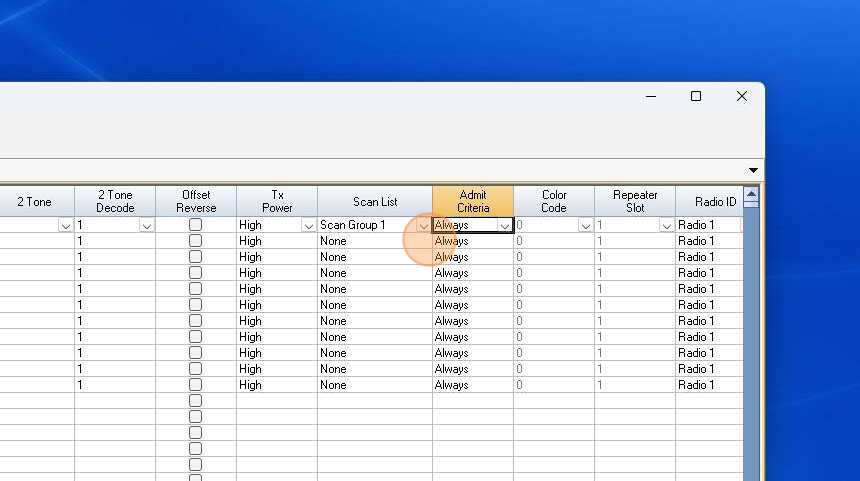
7. Scroll towards the right, in the software, until you find the "Scan List" column.
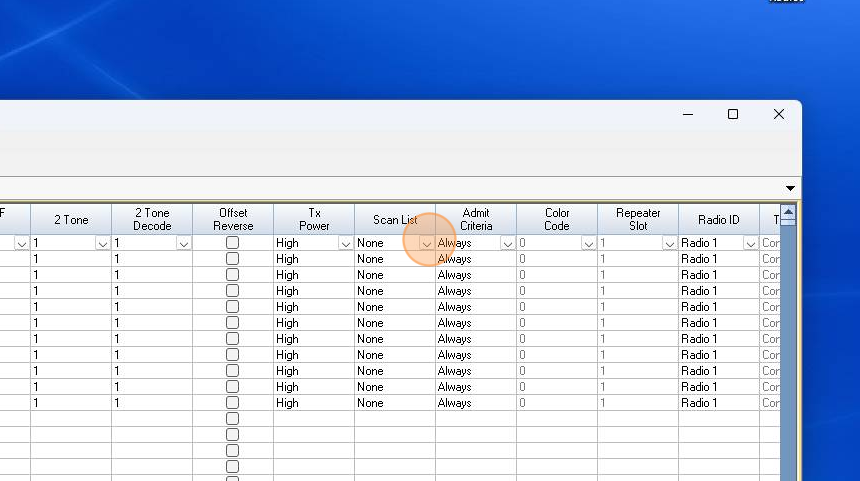
8. Select "None" to choose the scan group you wish to assign to your memory channel.
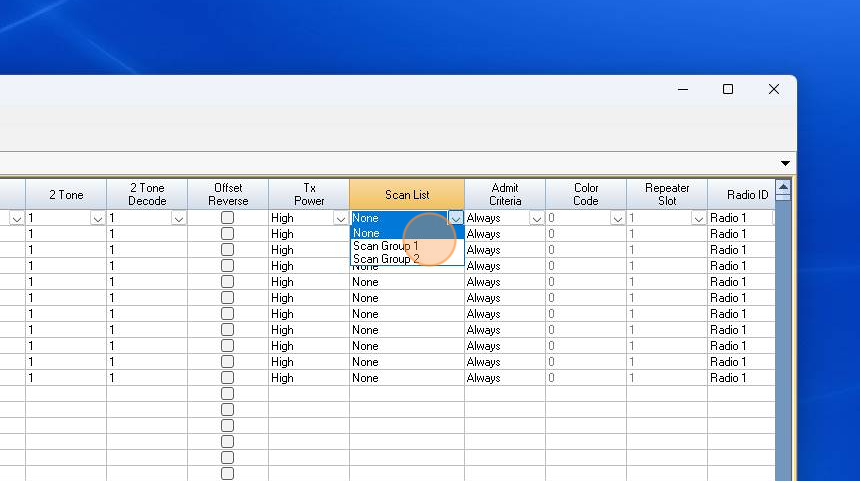
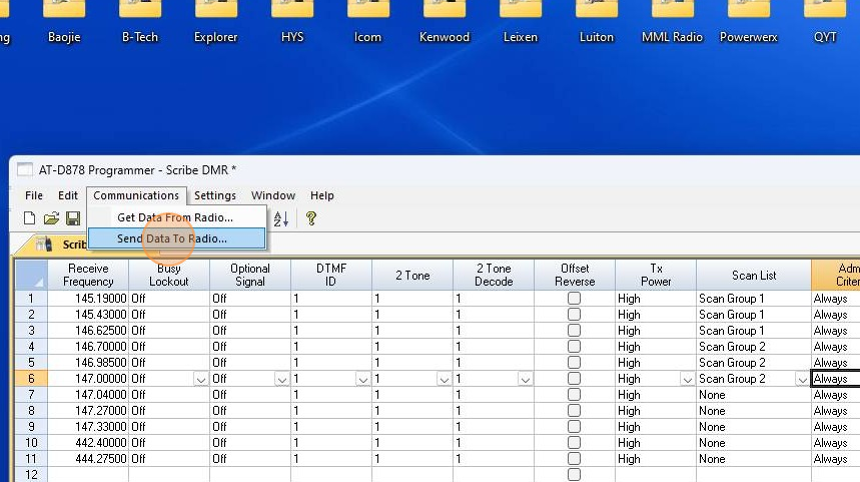
9. After you have chosen your scan group, the software will display the chosen group assigned to the chosen memory channel.
10. Click Communications | Send Data to Radio once you have completed configuring your scan groups and assigning them to your memories.
11. When the send data process has completed, using your radio, tune to a memory channel that was assigned a scan group. Once you are on the selected memory channel, you can begin the scan function on your radio to scan the memories in the assigned scan group.
Was this article helpful?
That’s Great!
Thank you for your feedback
Sorry! We couldn't be helpful
Thank you for your feedback
Feedback sent
We appreciate your effort and will try to fix the article